
This guide will lead you through the steps to install and run an existing Docker project using docker-compose.yaml, but provides no help in starting a Docker project from scratch. Also, it assumes you are using Windows.
Step 1: Enable Virtualization
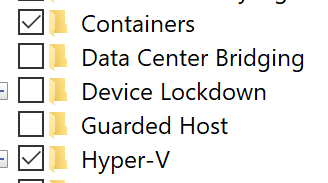
The Windows features ‘Containers’ and ‘Hyper-V’ must both be enabled. To check if this is the case, open the Start menu and type ‘features’. Pick ‘turn Windows features on or off’.

Confirm that both ‘Hyper-V’ and ‘Containers’ are checked, or check them if they are not.
If ‘Hyper-V’ is not available, you’ll need to enable virtualization in the BIOS. To accomplish this, you will need to restart your computer and access your BIOS settings.
- Restart your computer
- While restarting, you’ll need to click the magic key to enter BIOS. You should be able to look it up by searching your computer model online. Commons keys include:
- DEL
- F1
- F2
- F3
- F4
- F8
- ESC
- Navigate the menu with your keyboard, and find something like ‘Enable Virtualization’, or set ‘Virtualization’ to ‘ENABLED’. This is often in the ‘advanced’ section of the menus.
- On AMD, this is usually called ‘SVM Mode’
- Ensure that you Save the updated settings prior Exiting
Now you can return to the Windows Features list and enable ‘Hyper-V’.
Step 2: Install Docker Desktop
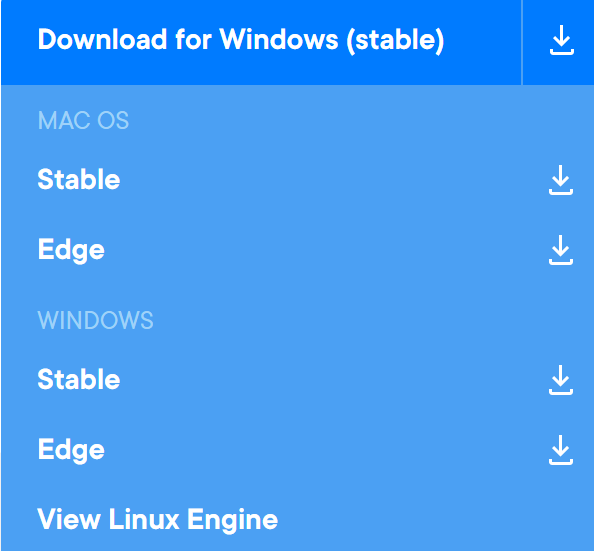
Navigate to https://www.docker.com/products/docker-desktop and download the latest stable version of Docker Desktop.
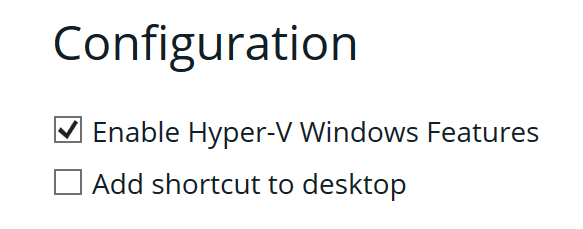
Run the downloaded installer.

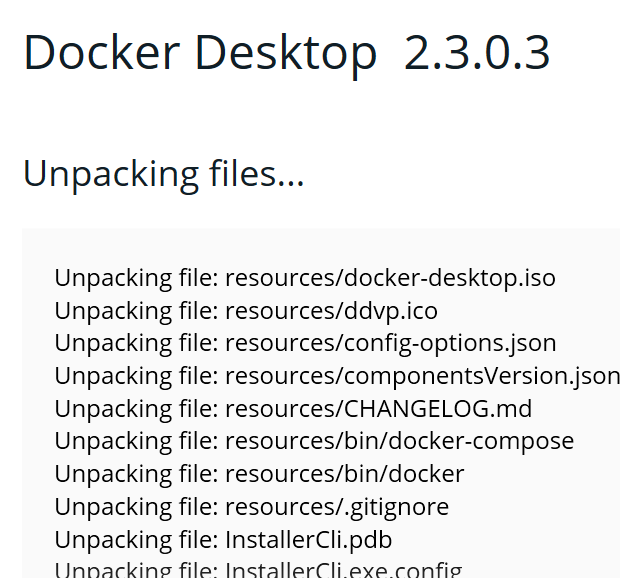
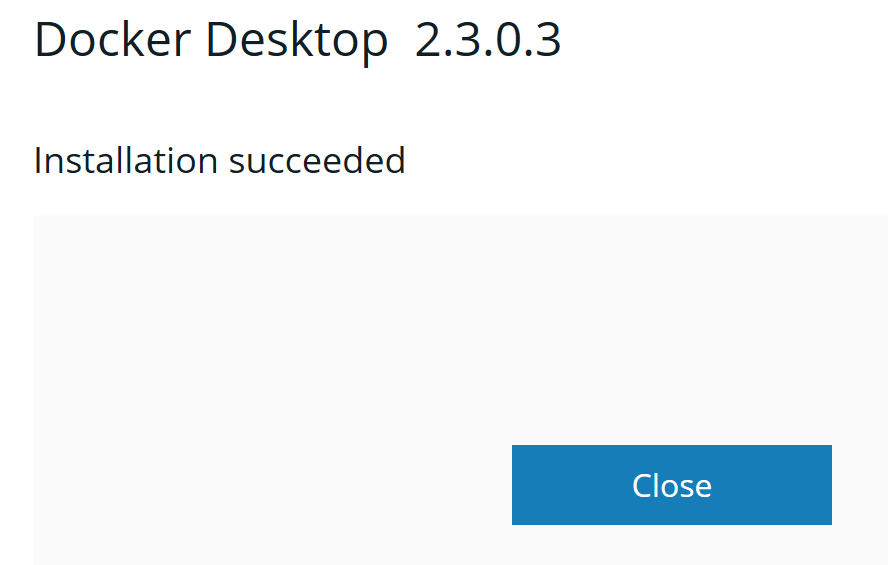
Click ‘Close’ to finish installation. If you run into errors, search the error text online and include the word ‘Docker’ in your search. A solution should present itself.
Step 3: Install Git
I’m assuming that the project you want to run is on Github/Bitbucket. While you can download these as a zip archive, it is much better (and will save you time in the long run) to download and install git.
Download Git for Windows: https://git-scm.com/download/win.
Using all the defaults is recommended. The only thing to make sure is that git is added to your path on this screen:
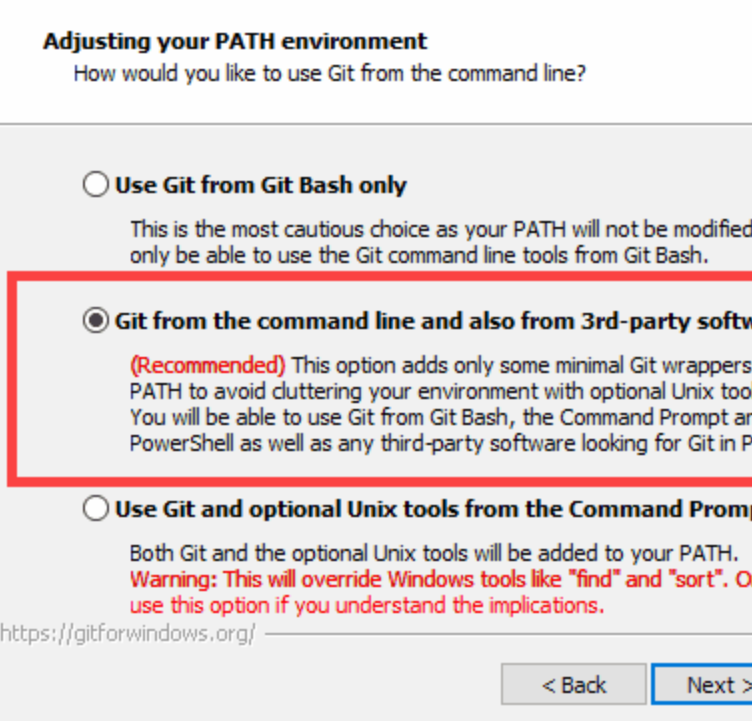
You can test that this worked by searching for ‘Powershell’ in search/start menu and typing git. You should get helpful output rather than an error.
If you do get an error, you can find where you installed git (e.g., C:\Program Files\Git) and add the path to the bin directory to your PATH environment variable (e.g., add C:\Program Files\Git\bin).
Or, more easily, search for ‘git bash’ in search/start menu, and run all git commands inside there.

Step 4: Clone the Project Repository
Find the URL of your project on Github. It should probably have a docker-compose.yaml file in the base directory.


Copy the ‘clone url’ from the green ‘Code’ dropdown (the clipboard icon on the right can help). Using powershell or git bash, type git clone and then paste the URL you copied. E.g., git clone https://github.com/blah/my_project_name.

This will download the repository into your current directory as my_project_name.
Let’s enter into your project. We can type cd my_project_name. ‘cd’ stands for ‘change directory’.
Since it will help to definite paths in the sections below, let’s assume you ran git clone while in C:\wksp such that your project is now in C:\wksp\my_project_name. You can see actual current location by typing pwd in powershell/git bash. ‘pwd’ stands for ‘print working directory’.
Step 5: Setting Up Docker
Start Docker by typing ‘Docker’ into the start menu/search bar and choosing the app.


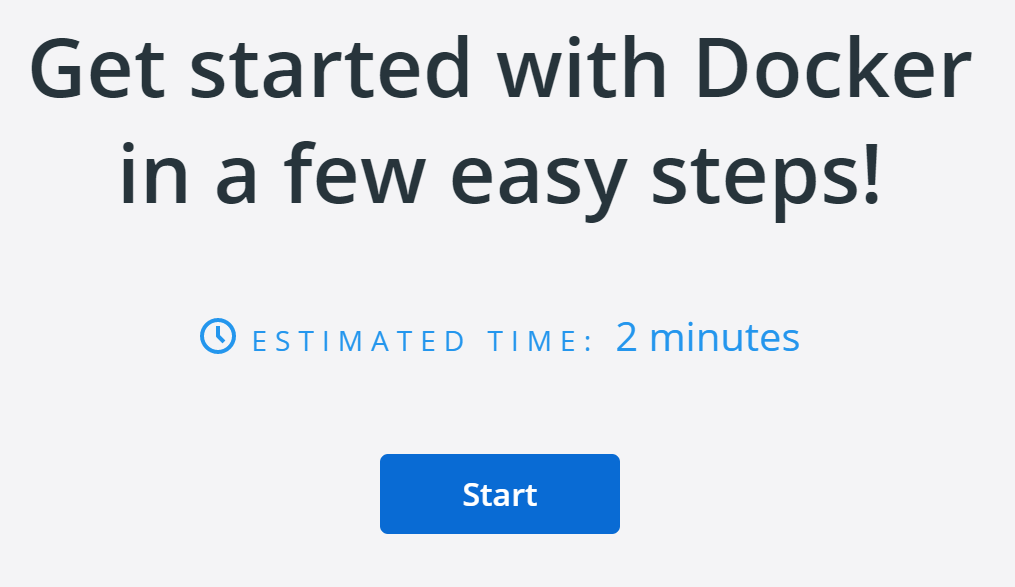
Step through the 2-minute tutorial:
Click the settings wheel icon at the top:

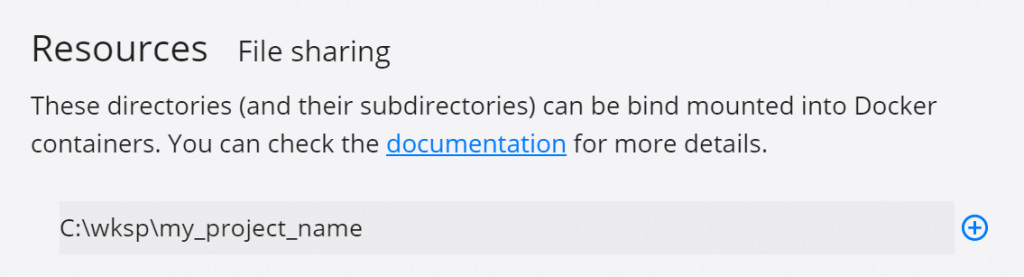
On the left-hand menu, choose ‘Resources > File Sharing’.
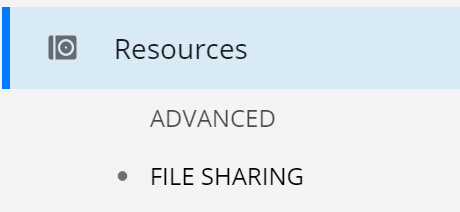
Add the path to your project. From our hypothetical project above, we’d add ‘C:\wksp\my_project_name’ to the path, and then click ‘Enter’ (or the ‘plus button’).
Apply and restart docker. This can take a couple minutes. Progress will be shown in the Docker taskbar icon (the whale: hover over it to see current state).

Step 6: Run Docker Project
Finally, we can run our docker project.
We need our powershell/git bash open to our project directory. In our hypothetical example, this would be ‘C:\wksp\my_project_name’. We should be able to run ls and see a docker-compose.yaml file. If this is not available or you see a different docker file, you will probably need to find a different guide (or maybe it’s in a subfolder?).
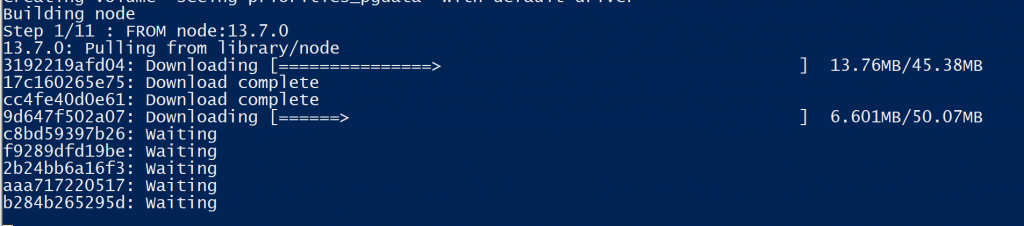
Now, run docker-compose up. The code you’ve been running might look something like this:
>> cd C:\wksp\my_project_name
>> pwd
C:\wksp\my_project_name
>> ls
README.md
docker-compose.yaml
LICENSE
code
>> docker-compose up
docker-compose up will take a while: grab a cup of coffee or take a walk. If you prefer watching loading bars go to 100% or arrows sprint across the screen, stay tuned:
Errors in this process should be reported to the package maintainer.
Whatever servers are initialized in this step should be running now, congrats! You can probably visit the URL shown, or follow instructions in the project documentation.

Step 7: Running Commands on a VM
Frequently, you will need to run commands on a VM. In the above django project, we probably need to setup an admin user and run migrations. While docker-compose up is running, open a new powershell/terminal.
Let’s look at the docker containers we’re currently running with docker ps:
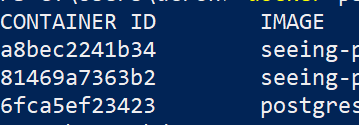
Locate the relevant CONTAINER ID. In our case this is a8bec2241b34.
Next, we connect to that container: docker exec -it a8bec2241b34 bash. You only need to type the first few letters of the relevant container.
You can now navigate in the container and run commands for django like:
python manage.py migratepython manage.py createsuperuser
Step 8: Stop/Quit your Project
In our above example, quit the project by pressing Ctrl + C or just closing the powershell window.
Step 9: Updating your Project
To update your project, you will probably only need to run git pull in your project directory. If running something like django, you may need to migrate the database (repeat Step 7).
One of the advantages of cloning/downloading the project with git is that updating our project is very simple. We can cd to our project folder and run git pull.
>> cd C:\wksp\my_project_name
>> pwd
C:\wksp\my_project_name
>> git pull
...A few lines of git output...
>> docker-compose up
Re-run docker-compose up.
In the unlikely event that you need to rebuild your docker containers, first run docker system prune and confirm that you want to delete everything (this includes other projects). You can remove container-by-container with docker container rm <CONTAINER ID from docker ps> Now, return to docker-compose up.
Step 10: Miscellaneous Recommendations
1. Disable Docker in Startup
By default, Docker will load each time your system starts up. If you always use Docker, this is probably okay. If you only occasionally use it, this can be annoying.
Search for ‘Startup Apps’ in search/start menu.
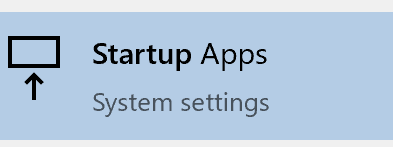
Set Docker Desktop to ‘Off’, otherwise it will have ‘High Impact’ costs.

You can start Docker anytime by running Docker Desktop from search/start menu.