
Python 3.11.0 was just released. In honor of this, I wanted to write a quick walk through of installing Python on Windows. The process is relatively straightforward and only takes a couple minutes. In addition, I’ll provide the steps for downloading and installing Microsoft Build Tools for Visual Studio which is sometimes required for compiling certain packages.
Installing Python
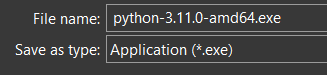
Navigate to the Python downloads page (or just search ‘python downloads’ in your favourite search engine): https://www.python.org/downloads/. At the top of this page, you’ll find the recommended version (in my case 3.11). If you aren’t looking a specific version for some very specific reason, pick this:

Save the file to your Downloads folder (or wherever) and then run the downloaded file.
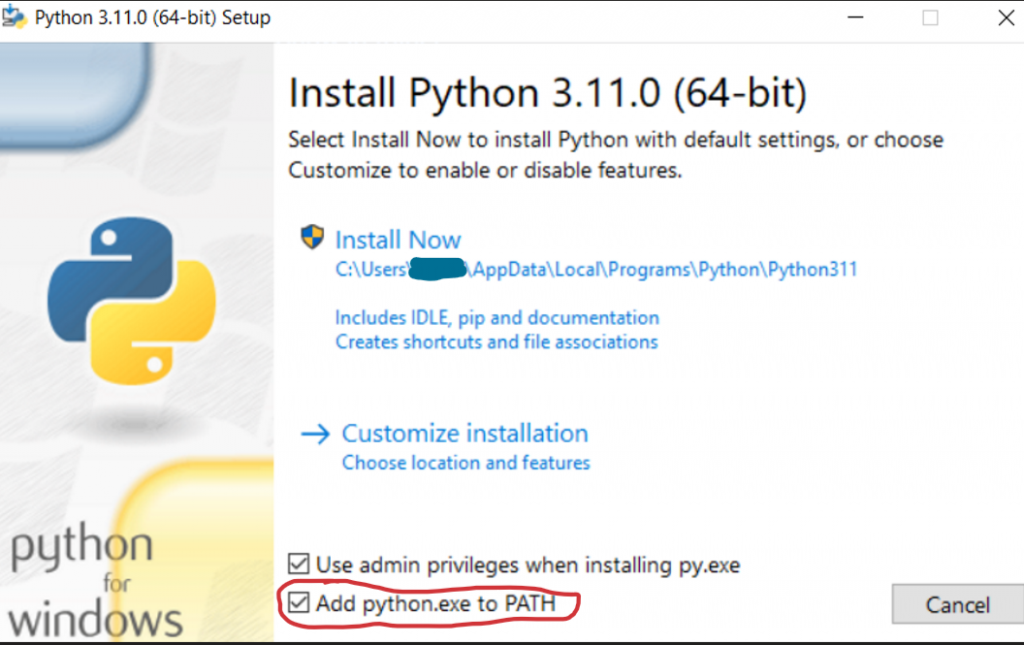
The install screen will provide a few options. I typically keep the defaults with the exception of clicking the checkbox to have the installer automatically add python.exe to my PATH environment variable. This way, when I type python into Powershell, it will be able to find this executable.
Python will quickly install (1-2 minutes).
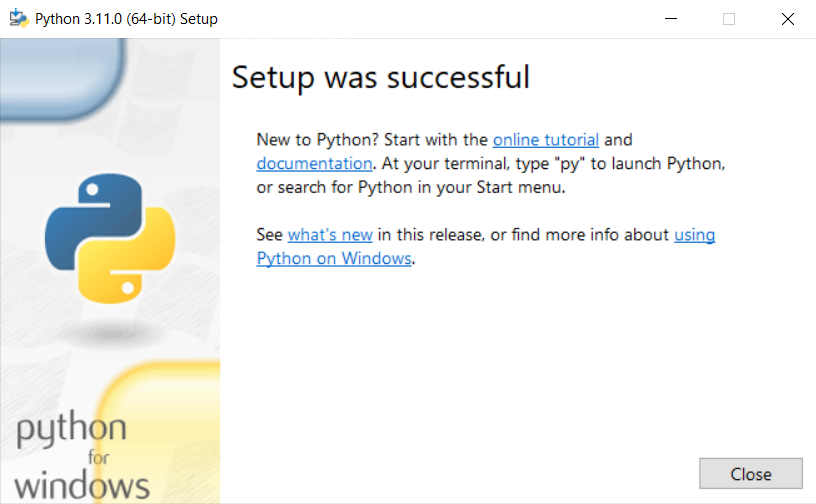
Test the install by opening up powershell and typing python on the command line.

Congratulations!
System-wide Virtual Environment
I don’t install many (if any) packages in the base Python installation, but, instead, create a virtual environment before installing my packages. I’ll typically create a ‘system-wide’ virtual environment (and then multiple project-level ones in the same directory as the project) which will get placed in, e.g., D:\.venv. The reason for this is that I know that I always have a ‘general’ install which I can start up to, e.g., run a quick script, start a Jupyter Notebook to handle some simple task, etc.
To do this, run python -m venv D:\.venv.
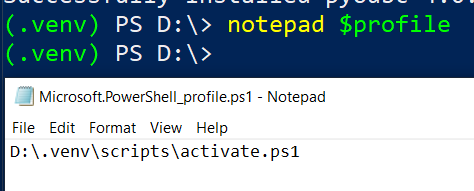
Once the virtual environment is built, start it by running D:\.venv\Scripts\activate.ps1.

Now, I’ll add this command to my Powershell $profile so that whenever I open powershell, this system-wide virtual environment will also be updated. To do this, we can run notepad $profile (if you don’t yet have a $profile, Notepad will prompt you to create the file), and insert the activation command in the file. Save the file and open a new instance of powershell to see the virtual environment automatically started.
Updating Python
But, you might wonder, what should I do to update my Python 3.11.0 when 3.11.1 comes out? Follow the same steps as before in retrieving the newest version of 3.11.x (or whatever version). Instead of prompting to Install Now, you can Upgrade Now.

If you Upgrade, your virtual environment will automatically point to the new version. When you install a new major version of Python (e.g., 3.12), go ahead and move your old virtual environment (mv .venv .venv311) and create a new one referencing 3.12.
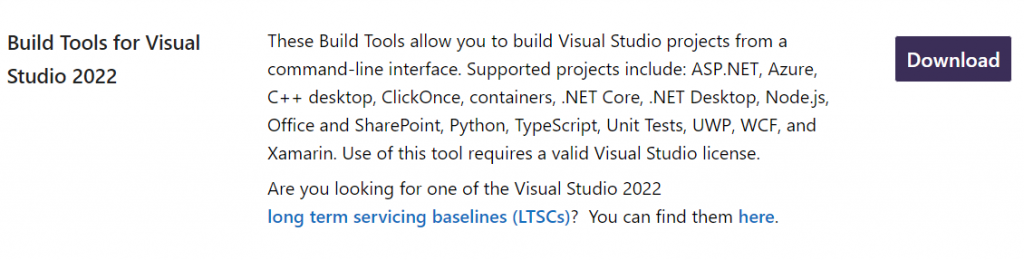
Installing Microsoft Build Tools for Visual Studio
Some packages require the installation of Windows C++ compilers. Updated information on this topic is available here: https://wiki.python.org/moin/WindowsCompilers. In short, Windows doesn’t include these by default, so if a package requires the compiler, it will launch some complaint like error: Microsoft Visual C++ 14.0 is required.
To resolve this, you can follow the included link (currently to https://visualstudio.microsoft.com/downloads/ or thereabouts) and then Download the most recent version of Build Tools for Visual Studio 20XX (currently 2022).
Click the Download button and save to Downloads folder.
Run the download executable and follow the prompts until arrive at a page suggesting various tools you might be interested in. I have found the default installation options using ‘Desktop development with C++’ to work.

This promises to download a few useful tools:
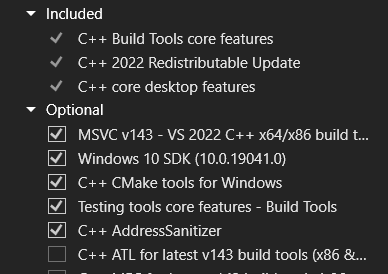
The installation typically takes a while and can require a substantial amount of space.
Once the install is done, everything’s ready.